I’ve failed with a fair number of fudge batches over the years. From some that turned out hard as a rock to others that were soupy and didn’t set, I’ve messed it up any way you can think of. This 2 ingredient microwave fudge recipe takes all the headache out and makes it so easy!
That’s right, you read it correctly. Just 2 ingredients and your microwave is all that it takes to make a classic holiday sweet. I’d call it foolproof, but I’m sure I could find a way to mess it up if I tried hard enough.
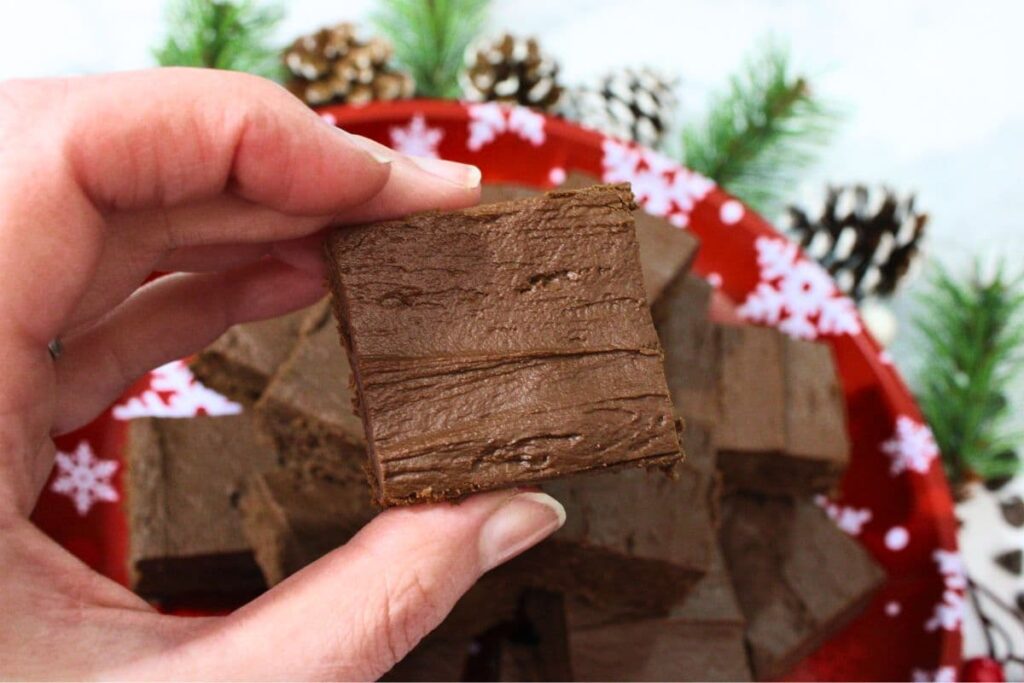
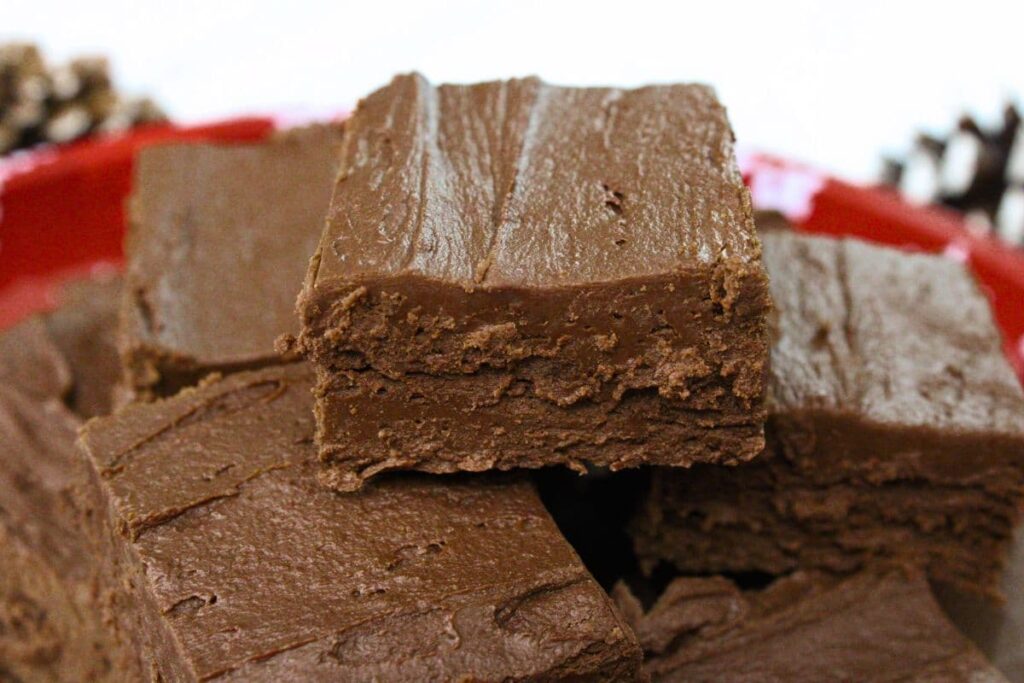
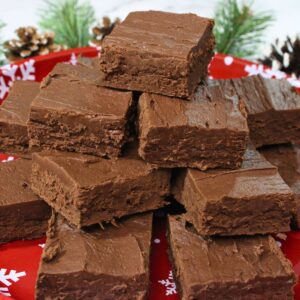
Now, is it exactly the same texture as classic fudge? No. I find it to be a little softer, but it still cuts well. It also melts in your mouth when you eat it and is delicious, so I really don’t have much to complain about there!
I also love that you can kind of customize the flavors the way you like. Swapping in different flavors of frostings and chips will result in all sorts of fun combinations. You can also dress your fudge up with some seasonal sprinkles for a festive touch!
If you prefer a more traditional fudge recipe, make sure to check out my Pistachio Fudge and Raspberry Fudge for some delicious options!
Ingredients List
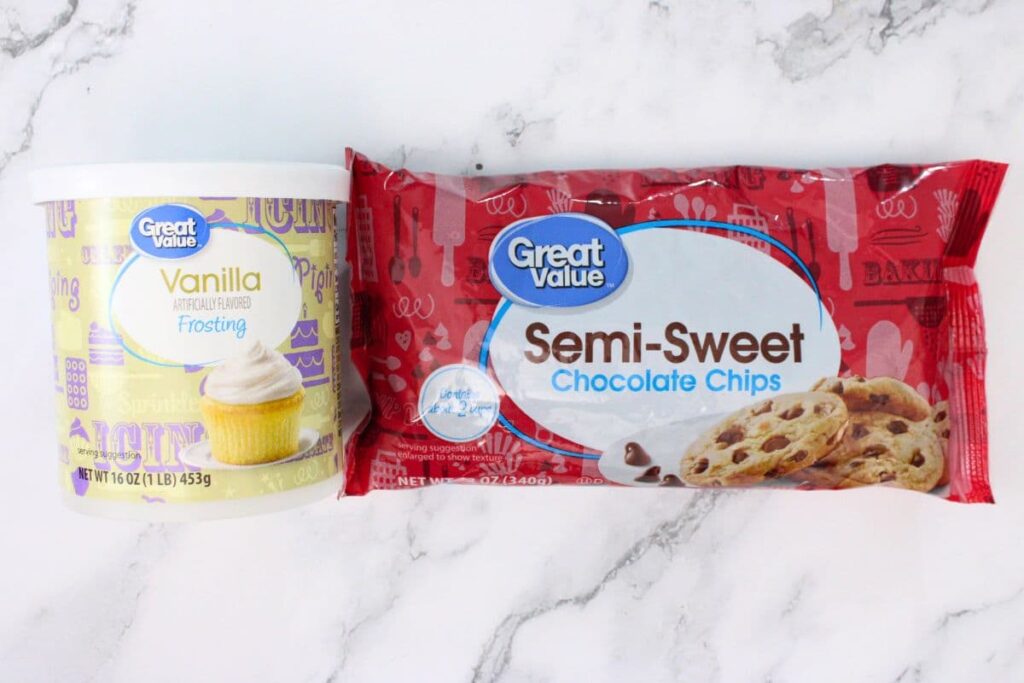
16-ounce jar ready to spread frosting (such as Pillsbury)
10-12 ounce bag baking chips
Ingredient Tips and Notes
Any flavor of frosting is fine (I’m using classic vanilla), but make sure you don’t use whipped frosting, as it’s slightly different and doesn’t set right. You’ll need an equal amount to the amount of chips you put in, so you may have some left over based on the size of normal jars
Baking chips will also vary in bag size depending on flavor. I’m using a 12-ounce bag of semisweet chocolate chips, but note that yours could vary by brand and flavor! Don’t use candy chips (such as toffee), as they don’t melt well
Substitutions. This recipe also works with creamy peanut butter in place of the baking chips, still used in equal amounts with the frosting. To replace the frosting, you can use a can of sweetened condensed milk instead. Feel free to adjust for what you have on hand!
Tip:make sure to use flavors that compliment each other well or else you may end up with a flavor monstrosity
Equipment
You can use an 8×8 baking pan for this recipe, coated with nonstick spray or lined with parchment or wax paper. I’ve also used a couple loaf pans in a pinch!
For individual servings, use a mini muffin tin lined with candy-sized paper cups, and then you don’t need to cut it afterwards!
Step By Step Instructions
Measure out your chips and frosting so you have equal amounts. I usually use the whole bag of chips and adjust the frosting based on the size of the baking chip bag (but you could use extra chips to match the frosting container if preferred)
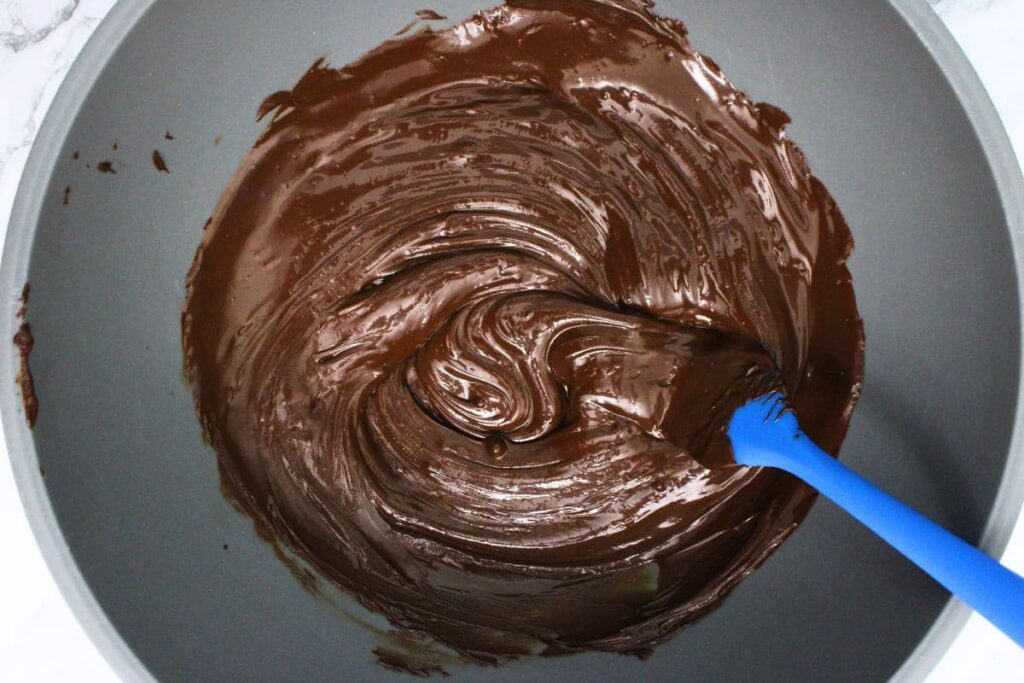
In a microwave safe bowl, melt the chocolate chips on high in 30 second increments, stirring after each, until they are smooth (generally about 1 – 1 ½ minutes in a 1000W microwave)
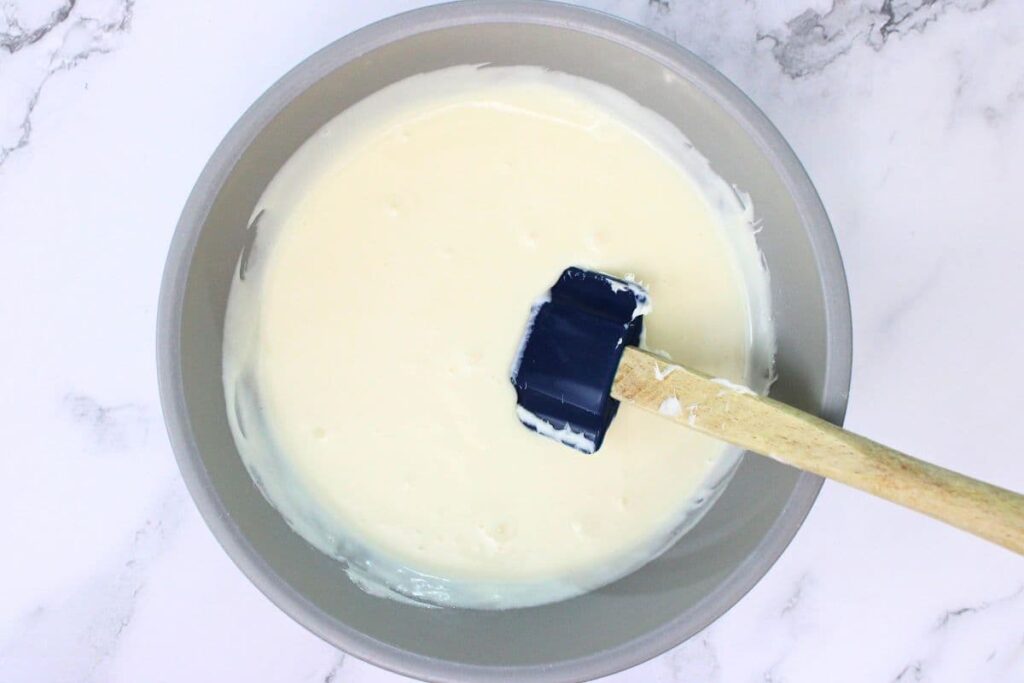
Place the frosting into a second microwave safe bowl and cook on high for 30 seconds. It should be somewhat liquified and pourable at this point, but you can add additional time in small increments as needed
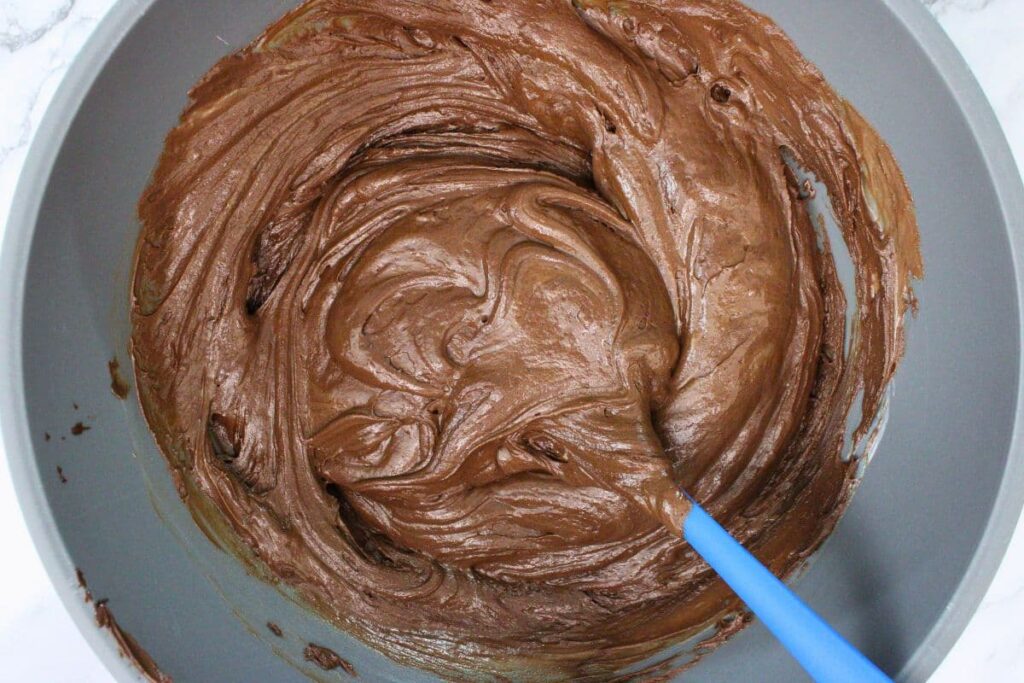
Combine the melted chips and the liquified frosting together and stir well to evenly combine them
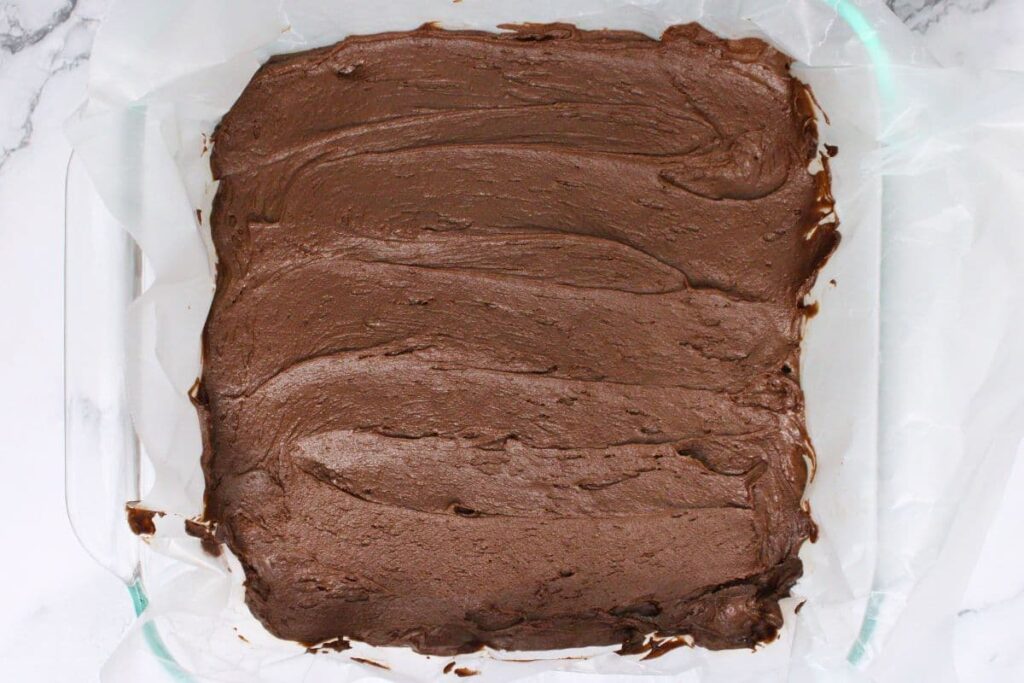
Pour into a greased pan (I use an 8×8 baking dish) and spread evenly. If you want to add some sprinkles or other decorations, do so now as well!
Refrigerate until set, generally about 1-2 hours (or freeze for 30 minutes if you’re in a rush)
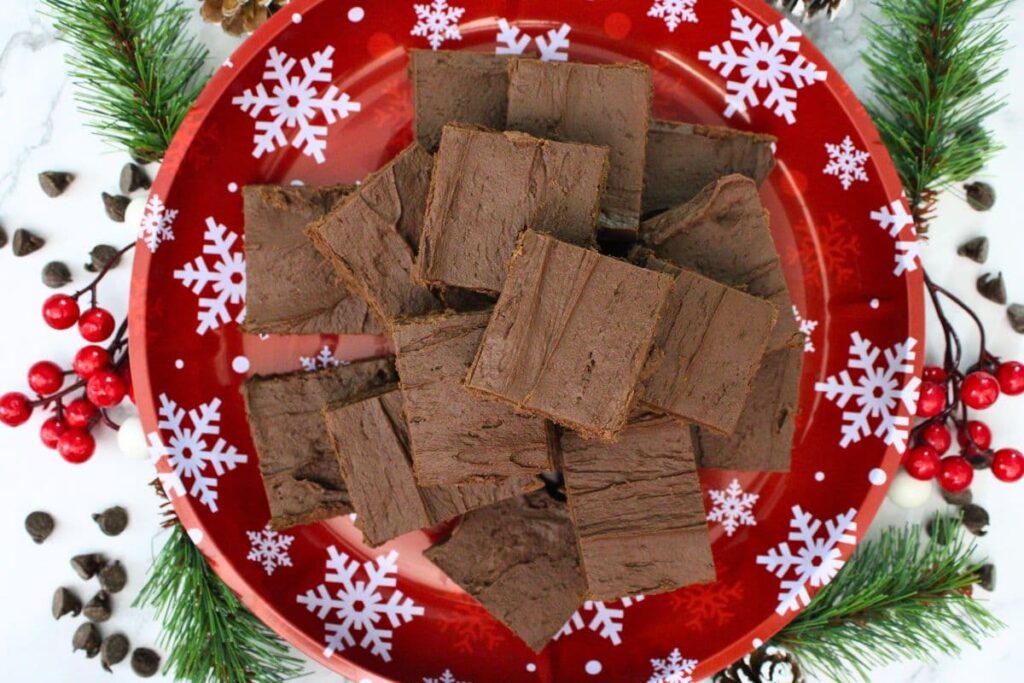
Slice and serve!
What to Pair With Fudge
Fresh fruit (berries and pineapple in particular)
Red wine (try Syrah)
Fresh bread (brioche, croissants, or a baguette)
Port wine
Dessert wines
Graham crackers and marshmallows
Fruity milkshakes
Fruit juices
Smoky cocktails
Whiskey cocktails
Chocolate cocktails
There are a variety of other foods and drinks that pair well with fudge. Tailor your choice to the flavor profiles you’ve chosen for your batch of fudge in particular!
Can I Use Different Types of Chocolate for This Recipe?
Yes, you can experiment with various types of chocolate, such as dark, milk, or white chocolate, for different flavor profiles.
Even more unique flavors like butterscotch, raspberry, or peanut butter chips work.
How Long Does It Take for the Fudge to Set From the Microwave?
Typically, the fudge sets within 1 to 2 hours in the refrigerator after microwaving.
Time may vary based on the thickness of your fudge and the specific ingredients.
Can I Add Nuts or Dried Fruits to the Fudge?
Absolutely, you can incorporate nuts, dried fruits, or other mix-ins to personalize your fudge.
Ensure they’re finely chopped for better distribution.
What Is the Shelf Life of Microwave Fudge?
When stored in an airtight container in the refrigerator, microwave fudge lasts up to 2 weeks.
For longer term storage, you can freeze your fudge for up to 2 months, but note that the texture may alter slightly.
Is It Possible to Make This Fudge in Larger Batches?
Yes, you can scale up the recipe by doubling or tripling the ingredients, adjusting the microwaving time accordingly.
You will need a larger pan as well; typically a 13×9 is good for a double or triple batch.
Can I Add Flavorings Like Vanilla or Almond Extract?
Absolutely, extracts like vanilla or almond can enhance the flavor. Start with a small amount (about ½ tsp), as these extracts are potent.
For more unique options, try raspberry, peppermint, or orange extracts, which I find pair best with chocolate.
Recipe Pro Tips
If your frosting comes in a container with a ‘5’ in the recycling symbol on the bottom, it is technically microwave safe. To reduce bowls, you can remove the lid and foil top, and then just microwave the frosting in the jar. I still prefer to transfer it for easier stirring, but know that you have the option!
You want the mixture to still be pretty soft and liquidy when you pour it into the container to set. If it’s beginning to seize, you can always microwave for 20-30 seconds again to re-warm it before pouring!
Storage and Serving Tips
Since this recipe is softer than traditional fudge, it really needs to be stored in the refrigerator to maintain a fudge-like consistency. Store covered for up to 2 weeks. Remove and plate just before serving!
I cut my 8×8 pan into 4 rows each way to create 16 blocks of fudge. It’s very rich and decadent so I feel the pieces can be pretty small, but you can of course cut the pieces as large as you like!
If you’re looking for a quick and easy fudge recipe, look no further than this 2 ingredient microwave fudge! Sure, it’s not really traditional fudge, but rather fudge-like. However, it’s really easy to make and a great “cheat” recipe if you struggle with traditional recipes.
I love the amount of customization options you have with this method, as you can swap in different flavors of frosting and chips to make all sorts of flavor combinations!
While chocolate fudge is always a classic for the Christmas cookie tray, you can always use this for other occasions as well! Try a chocolate raspberry combination for Valentine’s Day or a mint chocolate for St. Patrick’s Day, and decorate with fun colored sprinkles to match!
This 2 ingredient fudge uses frosting and baking chips to make a soft, sweet treat. The preparation time is very low, making it a low fuss dessert option!
16Ouncejar ready to spread frosting(such as Pillsbury)
10-12Ouncebag baking chips(such as semisweet chocolate chips)
Instructions
Measure out your chips and frosting so you have equal amounts. I usually use the whole bag of chips and adjust the frosting based on the size of the baking chip bag (but you could use extra chips to match the frosting container if preferred)
16 Ounce jar ready to spread frosting, 10-12 Ounce bag baking chips
In a microwave safe bowl, melt the chocolate chips on high in 30 second increments, stirring after each, until they are smooth (generally about 1 ½ minutes in a 1000W microwave)
Place the frosting into a second microwave safe bowl and cook on high for 30 seconds. It should be somewhat liquified and pourable at this point, but you can add additional time in small increments as needed
Combine the melted chips and the liquified frosting together and stir well to evenly combine them
Pour into a greased pan (I use an 8×8 baking dish lined with wax paper) and spread evenly. If you want to add some sprinkles or other decorations, do so now as well!
Refrigerate until set, generally about 1-2 hours (or freeze for 30 minutes if you’re in a rush)
Slice and serve!
Notes
Any flavor of frosting is fine (I’m using classic vanilla), but make sure you don’t use whipped frosting, as it’s a different consistency. You’ll need an equal amount to the amount of chips you put in, so you may have some left over based on the size of normal jars
Baking chips will also vary in bag size depending on flavor. I’m using a 12-ounce bag of semisweet chocolate chips, but note that yours could vary by brand and flavor! Don’t use candy chips (such as toffee), as they don’t melt well
Substitutions. This recipe also works with creamy peanut butter in place of the baking chips, still used in equal amounts with the frosting. To replace the frosting, you can use a can of sweetened condensed milk instead. Feel free to adjust for what you have on hand!
If your frosting comes in a container with a ‘5’ in the recycling symbol on the bottom, it is technically microwave safe. To reduce bowls, you can remove the lid and foil top, and then just microwave the frosting in the jar. I still prefer to transfer it for easier stirring, but know that you have the option!
You want the mixture to still be pretty soft and liquidy when you pour it into the container to set. If it’s beginning to seize, you can always microwave for 20-30 seconds again to re-warm it before pouring!
Since this recipe is softer than traditional fudge, it really needs to be stored in the refrigerator to maintain a fudge-like consistency. Store covered for up to 2 weeks. Remove and plate just before serving!
I cut my 8×8 pan into 4 rows each way to create 16 blocks of fudge. It’s very rich and decadent so I feel the pieces can be pretty small, but you can of course cut the pieces as large as you like!
Exact nutritional values will vary based on brand and flavor of ingredients, any toppings or mix-ins added, size of pieces, and quantity consumed, so please consider this a guideline only
I enjoy trying new recipes, creating my own, and dabbling with new techniques all the time. My husband loves to protest when I make him my guinea pig, but it’s all for the love of food!
My cooking philosophy is that great tasting food doesn't have to be complicated or time consuming to make. I'm a home cook with over 20 years of experience feeding myself and others. I've learned from a variety of different people, things I've learned online, and some trial and error as well.
I enjoy cooking a variety of foods, from convenience to comfort foods, as well as international cuisine. You can rest assured that all of my recipes have been actually made, thoroughly tested, and most importantly: tasted! I want you to enjoy my food as much as I do!


")