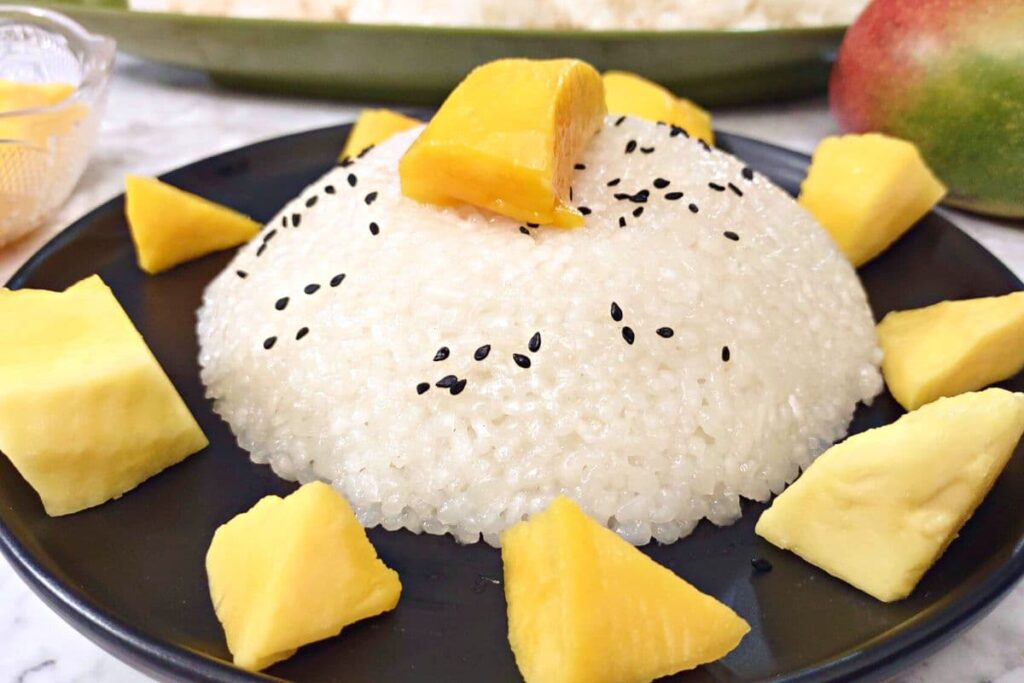
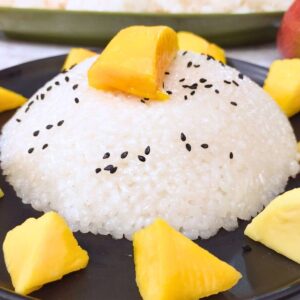
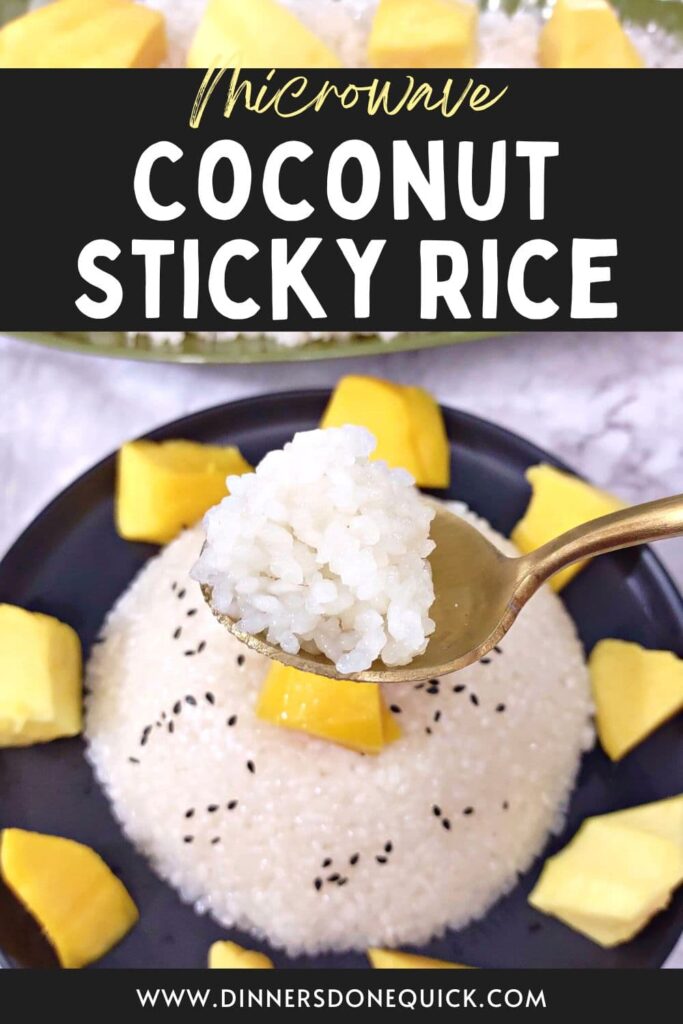
One of my favorite treats is coconut sticky rice accompanied by some fresh mango. However, I don’t always want to head to my local takeout place just to get a fix. Instead, now I make microwave sticky rice at home when I have a craving for a bowl.
It’s really easy to make microwave sticky rice at home! It only takes a few ingredients, doesn’t require a special rice cooker, and it’s completely delicious! I find that it’s much better tasting than the pre-made stuff you can buy in little plastic containers as well.
Even better, you can adjust your rice to your personal tastes when you make it at home. Modify the sweetness levels, pair with any fruit you want, add flavoring – it’s really a blank palette.
While this recipe is traditionally made with glutinous or “sticky” rice, you can make it with other varieties as well. No one says you have to be traditional around here (only tasty)!
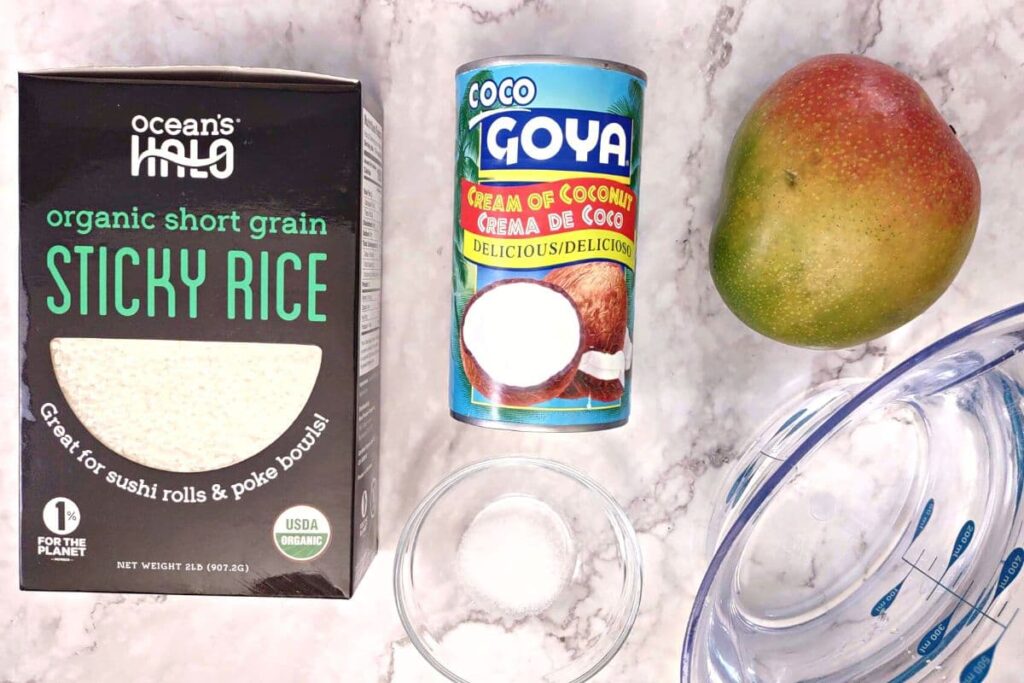
Ingredients to Grab
2 cups sticky rice
2 ½ cups warm water
15-ounce can cream of coconut
½ tsp salt
1 mango, peeled, pitted and cut into slices or chunks
Ingredient Tips and Notes
This recipe is traditionally made with sticky rice, sometimes known as sweet, glutinous, or sushi rice. It will also work with jasmine and other short-grained white rice, but you won’t get the same “sticky” texture from the rice. It will still taste delicious!
The amount of warm water you need for soaking is just enough to cover the rice in the bowl you use, so it may vary slightly depending on the size and shape of your container – I only needed about 1 ½ cups
Cream of coconut is not something you’ll see in a lot of recipes but is one of my favorite cooking hacks. Instead of cooking a sauce of coconut milk and sugar, I improvise and save time with this already-sweet version
The best mangoes are the small, yellow kidney-shaped Alfonso mangoes. I’ve often seen them called “champagne” mangoes. However, they’re not often in season, so feel free to use any mango you can find!
Variations: Feel free to omit the cream of coconut and use just water, or plain coconut milk. This is better if you plan to use your sticky rice alongside curry or another savory entree instead of dessert
How to Make Sticky Rice in the Microwave
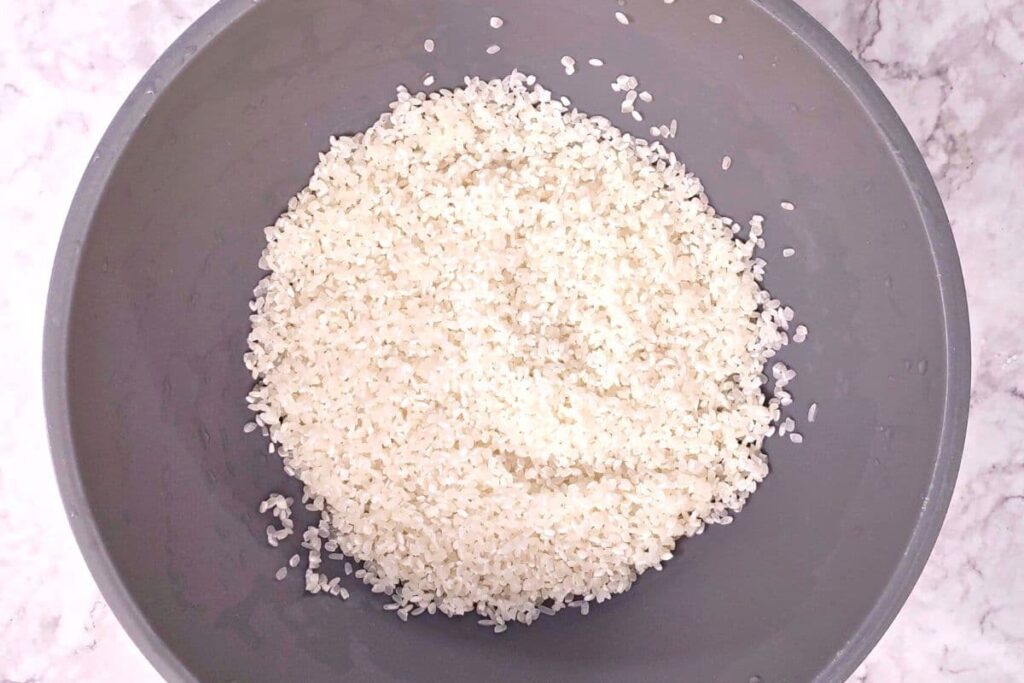
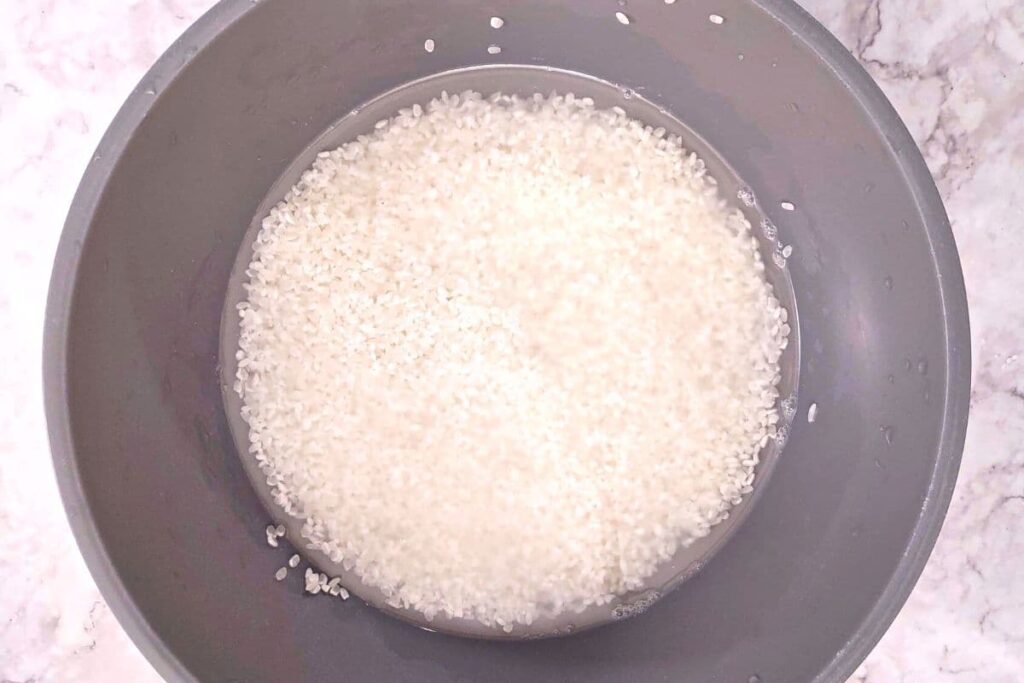
Rinse your rice until the water runs clear to get rid of any dust, debris, and excess starch (if you have a fine mesh strainer or cheesecloth feel free to use that to make things easier)
Place the rice in a microwave safe bowl
Cover the rice with enough warm water to completely submerge it
Soak for 10-15 minutes until rice slightly softens and plumps
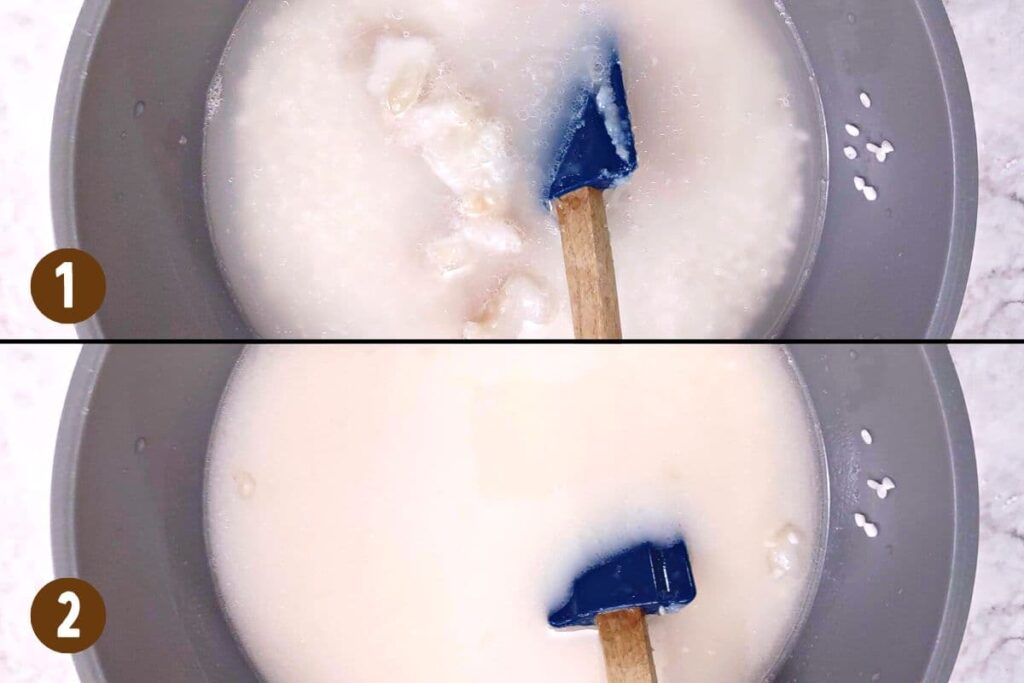
Drain, then add 2 cups of water and the cream of coconut to the rice and stir to combine
Cover the bowl with a lid, microwave safe plastic wrap, or a damp paper towel
Cook on high for 7 minutes, then stir
Continue to cook in additional 1-minute increments until water is completely absorbed and rice is no longer crunchy in the center
Add the salt and stir to distribute thoroughly
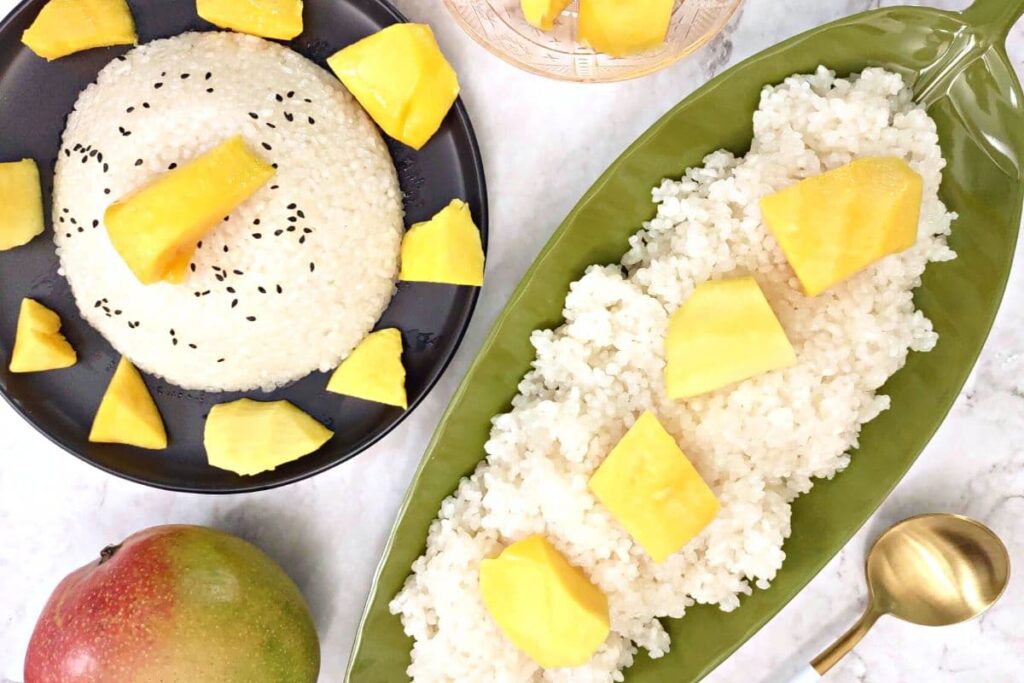
Portion the sticky rice into bowls or turn out onto a plate, then top with mango
Garnish with toasted coconut flakes or sesame seeds, if desired
What to Serve With Sticky Rice
Papaya salad
Mango
Banana
Sweet red beans
Caramel sauce
Crushed peanuts
Curry
Corn
Sushi
Steamed vegetables
Dumplings
Spring rolls or lumpia
Grilled meats
Larb
Tuna
Coconut shrimp
Whether you go sweet or savory, there are a lot of great dishes to serve with sticky rice. For a dessert option, serve it with sweetened coconut and mango like my recipe here.
Yes, sticky rice is the same as glutinous rice. It is also sometimes seen in the grocery store as sweet rice or sushi rice.
This type of rice is a short-grain that is flat and wide and becomes sticky in texture when cooked. Not just any white rice can be sticky rice.
How Do I Make Regular Rice Into Sticky Rice?
The short answer is that you cannot make regular rice into sticky rice, as it is a specific type and texture of rice grain. However, soaking your rice overnight before cooking will make it more chewy, thus giving it a more sticky consistency.
While you cannot technically make the exact same sticky rice with regular rice, you can still use it to make dishes like coconut sticky rice and it will still taste the same. The texture just won’t be quite as chewy.
How Do You Heat Up Sticky Rice in the Microwave?
To heat up previously cooked sticky rice in the microwave, place the desired amount in a microwave safe container. Cover the dish with a wet paper towel and cook on high for 1-2 minutes, stopping halfway through to stir for even heating.
The exact time needed will depend on the quantity you are reheating and the wattage of our microwave. Use small increments to prevent overcooking and drying out.
Can You Make Sticky Rice Without a Rice Cooker?
Yes, you can make sticky rice without a rice cooker. A bamboo basket or a microwave safe dish are the two most common alternatives.
The bamboo basket is designed for stovetop use, but is not necessary for microwave cooking methods.
Do You Microwave Sticky Rice Covered or Uncovered?
You should microwave sticky rice covered, as a cover seals in moisture to help steam the rice and cook it appropriately.
This can be achieved with a microwave safe lid, microwave safe plastic wrap, or a dampened paper towel.
Recipe Pro Tips
If your rice runs out of liquid before it finishes cooking, you can add small amounts of additional water (¼ cup at a time) and continue cooking as needed. Since the sugar in the cream of coconut will bubble at the top, you’ll need to pull the rice away from the bottom of the container and look for water. I needed about ½ cup additional
A typical serving is about ½ cup dry rice per person, so if you’d like to adjust based on the number you’re feeding feel free
My rice was done in around 11-12 minutes total in a 1000W microwave. However, this will vary based on the size of your bowl, how much rice you’re making, and the wattage of your microwave
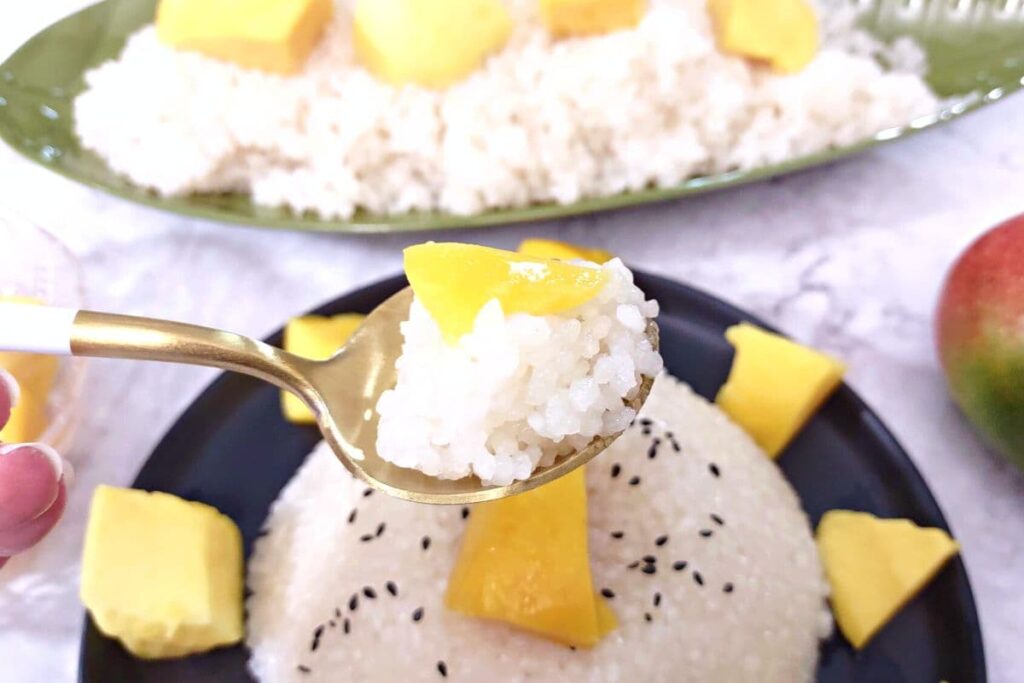
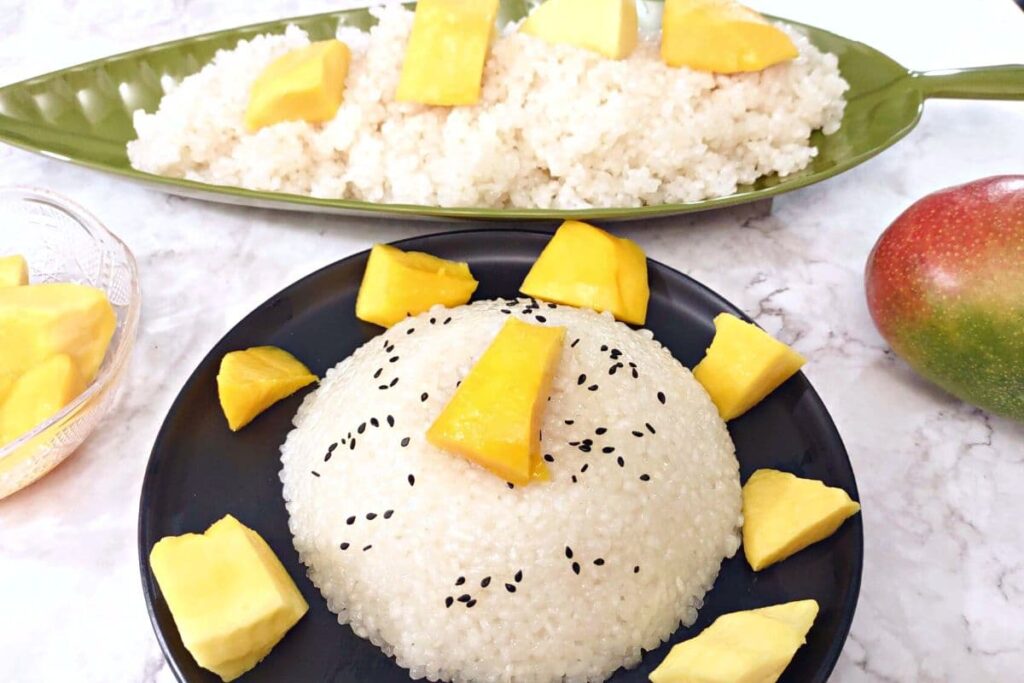
This microwave sticky rice is such an easy way to make a great side dish or dessert, whether you prepare it sweet or savory.
I love to pile on fresh mango and enjoy it as a treat equally as much as I like to serve it alongside some red curry chicken for the perfect accompaniment.
It also reheats well, so if you want to make a larger batch and enjoy a smaller portion at a time, feel free! It’s convenient for a quick weekday meal.
Rinse your rice until the water runs clear to get rid of any dust, debris, and excess starch (if you have a fine mesh strainer or cheesecloth feel free to use that to make things easier)
2 Cups sticky rice
Place the rice in a microwave safe bowl
Cover the rice with enough warm water to completely cover it
2 ½ Cups warm water
Soak for 10-15 minutes until rice slightly softens and plumps
Drain, then add 2 cups of water and the cream of coconut to the rice and stir to combine
15 Ounce can cream of coconut
Cover the bowl with a lid, microwave safe plastic wrap, or a damp paper towel
Cook on high for 7 minutes, then stir
Continue to cook in additional 1-minute increments until water is completely absorbed and rice is no longer crunchy in the center
Add the salt and stir to distribute thoroughly
½ Tsp salt
Portion the sticky rice into bowls or turn out onto a plate, then top with mango
1 Mango, peeled and sliced or cut into cubes
Garnish with toasted coconut flakes or sesame seeds, if desired
Notes
This recipe is traditionally made with sticky rice, sometimes known as sweet, glutinous, or sushi rice. It will also work with jasmine and other short-grained white rice, but you won’t get the same “sticky” texture from the rice. It will, however, still taste delicious!
The amount of warm water you need for soaking is just enough to cover the rice in the bowl you use, so it may vary slightly depending on the size and shape of your container – I only needed about 1 ½ cups
Cream of coconut is not something you’ll see in a lot of recipes but is one of my favorite cooking hacks. Instead of cooking a sauce of coconut milk and sugar, I improvise and save time with this already-sweet version
The best mangoes are the small, yellow kidney-shaped Alfonso mangoes. I’ve often seen them called “champagne” mangoes. However, they’re not often in season, so feel free to use any mango you can find!
Variations: Feel free to omit the cream of coconut and use just water, or plain coconut milk. This is better if you plan to use your sticky rice alongside curry or another savory entrée instead of dessert
If your rice runs out of liquid before it finishes cooking, you can add small amounts of additional water (¼ cup at a time) and continue cooking as needed. Since the sugar in the cream of coconut will bubble at the top, you’ll need to pull the rice away from the bottom of the container and look for water. I needed about ½ cup additional
A typical serving is ½ cup dry rice per person, so if you’d like to scale based on the number you’re feeding, feel free
My rice was done in around 11-12 minutes total in a 1000W microwave. However, this will vary based on the size of your bowl, how much rice you’re making, and the wattage of your microwave
Exact nutritional values will vary based on brand of ingredients and quantity consumed, so please consider this a guideline only
I enjoy trying new recipes, creating my own, and dabbling with new techniques all the time. My husband loves to protest when I make him my guinea pig, but it’s all for the love of food!
My cooking philosophy is that great tasting food doesn't have to be complicated or time consuming to make. I'm a home cook with over 20 years of experience feeding myself and others. I've learned from a variety of different people, things I've learned online, and some trial and error as well.
I enjoy cooking a variety of foods, from convenience to comfort foods, as well as international cuisine. You can rest assured that all of my recipes have been actually made, thoroughly tested, and most importantly: tasted! I want you to enjoy my food as much as I do!


")